While I grew up celebrating Christmas with my family as a catholic, being married to a jew; I now also celebrate Hanukah with my husband and his family.

While the Hanukia (candle stand) is the symbol of Hanuka; most kids are also excited about the Sauvivon (spindle).
As with most festivals the giving of gifts and sweets to family members especially kids plays a very important role.
Mini cakes though mini are definitely no mini work, but; I personally find they definitely make perfect individual gifts.
Mini cakes though mini are definitely no mini work, but; I personally find they definitely make perfect individual gifts.
Many people find filling and crumb coating a mini cake to be the most difficult. So here's what I do, and I hope it helps you some.
- You can use any of your favorite cake recipe and filling to make these. If you are new at baking try my recipe for baking a cake from scratch and my buttercream recipe or Ganache recipe for filling and frosting.
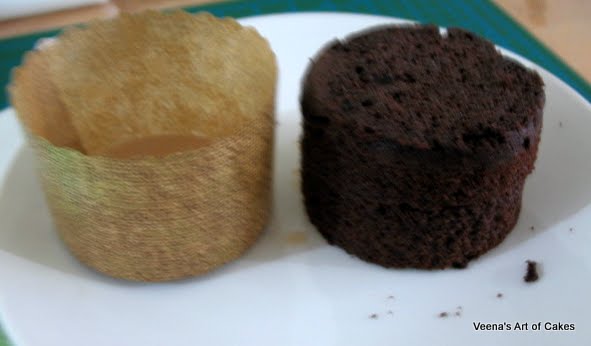
- I do not use any specific pan - I find these cheap paper cups are best suited for these cakes. Once cooled, place them in a plastic bag and let them sit in the fridge for a couple of hours. Then just tear the paper off, cut of any dome and cut the cake in half horizontally.
- For the board, I usually prefer to use disposable firm coasters. Line them with a doily if you want or just leave the pretty ones as is. If you can't find laminated ones which are very common, just cut a piece of transparent contact paper. That should do the trick.
Some times I just use left over foam pieces and make mini boards for my mini cakes. - Place a spoon full of melted chocolate on the coaster or mini board, place the cake on it. And let it set in the fridge for a few minutes.
Once the chocolate firms up, your cake won't move at all. Then place your filling, and crumb coat the cake briefly. Hold the board in your hand and up at eye level. The firm chocolate will hold it in place letting you twist and turn it while you spread your buttercream. - Once crumb coated, place it back in the fridge. Then use a cling wrap and smooth the buttercream by cupping the mini cake in your hands.


- Now you can either go ahead and add your next coat of buttercream or roll fondant as I'm doing here.


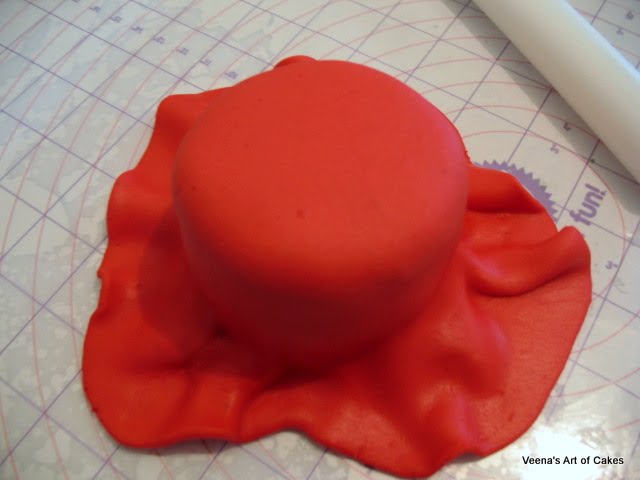
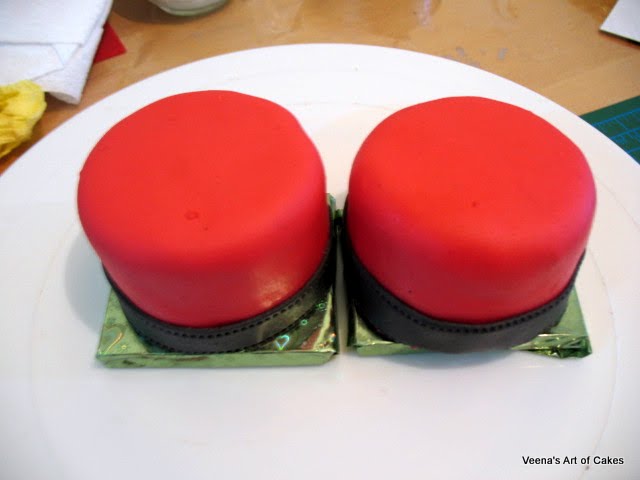
- Once you have your fondant on - go ahead and decorate your mini cakes.

- I'm adding a strip of black ribbon for the border with black fondant.
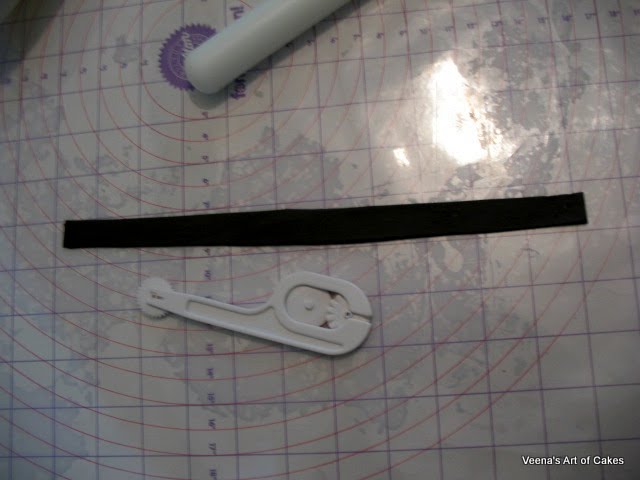
- Since I'm decorating them for Hanuka - am using a plastic mould of the Hanukia and the Sauvivon.
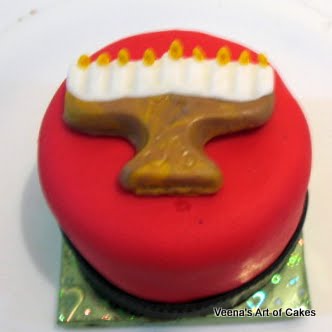

- This one below is made free hand - just rolled gum paste in my hand, made the candle with orange, painted the stand with luster dust and used yellow gumpaste for the flame.

You can decorate these just simply with a small bow or flowers. Here are some I did recently for a Bar Mitzvah Party give away. Aren't they cute?

To make a pretty presentation - I use little plastic bags that have a base (they usually use these to wrap bottles at supply stores, and a pretty ribbon to make a bow. Just use a stapler and hold them in place.
Well, I hope these little mini cakes will inspire you for your next holiday or party give away.
Until Next time
Happy Cake Decorating
Veena
Veena's Art of Cakes
Unforgettable Cakes for memorable occasions
Website - http://www.veenaartofcakes.com/
Blog - http://veenaartofcakes.blogspot.com/
You tube channel - http://www.youtube.com/user/veenamiranda?feature=mhee
Regards
Veena Azmanov
Visit this blog - http://veenaartofcakes.blogspot.com/
For more cake decorating tutorials Please visit my
Website - http://www.veenaartofcakes.com/
Find us on Facebook -
https://www.facebook.com/pages/Veenas-Art-of-Cakes/151626264936231
Veena Azmanov
Visit this blog - http://veenaartofcakes.blogspot.com/
For more cake decorating tutorials Please visit my
Website - http://www.veenaartofcakes.com/
Find us on Facebook -
https://www.facebook.com/pages/Veenas-Art-of-Cakes/151626264936231
No comments:
Post a Comment